A shipping label can look simple: four inches by six, a barcode, and an address. Yet the wrong stock may curl, smear, or lose adhesion before a parcel reaches its destination. Choosing a 4x6 Thermal Label is therefore not just a size decision. Printer compatibility, print density, adhesive performance, and storage conditions all matter. Small details matter.
The demand context is substantial. The U.S. Census Bureau reported that U.S. retail e-commerce sales reached an estimated $1.1926 trillion in 2024, up 8.1% from 2023, and represented 16.1% of total retail sales. That figure does not measure label use directly, but it shows why dependable parcel identification matters to many sellers. Quality-management expert W. Edwards Deming’s well-known reminder is relevant: “In God we trust; all others must bring data.” For label buyers, that means testing real rolls—not relying on a product photo or a broad claim.
This guide compares direct thermal and thermal-transfer needs, label materials, adhesive types, and printer specifications. It also considers practical checks: whether a label feeds cleanly, stays readable after handling, and sticks to the actual carton or mailer. One compromise deserves scrutiny: a lower price may not mean lower total cost if jams and reprints follow. The best choice depends on your workflow, not a universal ranking.
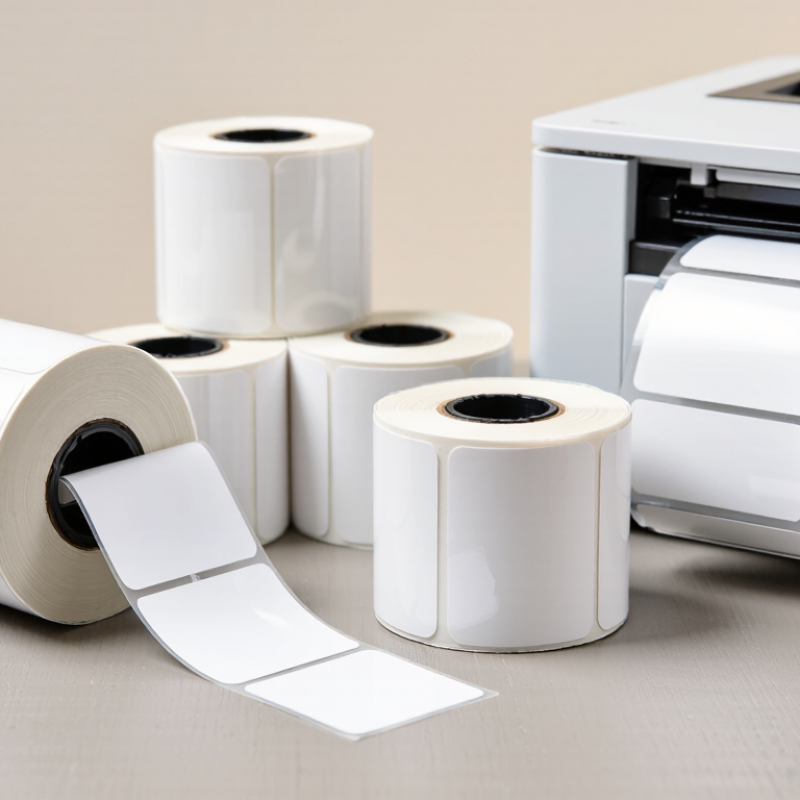
Check the dimensions before loading a roll. A 4 × 6 in label measures 101.6 × 152.4 mm. NIST Special Publication 811 defines one inch as exactly 25.4 mm. That conversion is exact, but the usable print area is smaller than the label. Compare your layout with the printer’s maximum printable width, allowing space for side margins and barcode quiet zones. A label may fit the feed path but still exceed the printhead’s usable width. Small mismatch, big headache.
Next, match the printer’s sensing method to the label backing. Gap sensing needs consistent spaces between labels; black-mark sensing needs marks on the correct side. Check the roll’s core size and outside diameter, and confirm the printer supports direct-thermal media if you will not use a ribbon. GS1’s General Specifications describe barcode dimensions, while ISO/IEC 15416 addresses linear barcode print quality. A correct label size alone cannot guarantee a scannable code. Print a test, measure the layout, and scan its smallest barcode. One detail is easy to miss: specification sheets may list media size without explaining sensor calibration. Check the manual and recalibrate after loading.

For 4x6 shipping labels, choose direct thermal when labels move quickly and face little heat, sunlight, or rubbing. The printer needs no ribbon, reducing consumable changes. That simplicity is useful at a busy packing bench. But the image forms through heat-sensitive coating, so storage and handling can affect legibility.

Choose thermal transfer when labels must resist abrasion, moisture, or longer storage. It uses a ribbon, and the ribbon must suit both the label material and conditions. Wax ribbons often suit paper labels; resin-based ribbons are commonly selected for tougher synthetic materials. These are starting points, not guarantees. Test the actual combination: press a label onto a carton, rub it, and expose a sample to expected conditions.
A barcode that looks crisp may still scan poorly. ISO/IEC 15416 rates linear barcode print quality on a 0.0-to-4.0 scale, considering factors such as contrast and defects. Check samples with a verifier when scan reliability matters. Keep a few printed labels for later comparison. I would not trust one perfect test run; printer settings, ribbon tension, and label batches can shift results. The right choice depends on the label’s real journey, not just its appearance fresh from the printer.
Typical durability fit by printing method (qualitative scale: 1 = lower, 5 = higher).
Direct thermal labels need no ribbon and work well for many short-term shipping labels, but heat, light, and abrasion can affect their readability. Thermal transfer requires a compatible ribbon and label stock; choosing the right combination can improve resistance and support longer-lasting labels. Ratings are illustrative, not standardized test results.
When choosing 4x6 thermal labels, match the printer’s resolution to the smallest detail you need to print. NIST defines one inch as exactly 25.4 millimeters: 203 dpi therefore equals about 7.99 dots per millimeter, while 300 dpi equals about 11.81. In practice, that means roughly 0.125 mm per dot at 203 dpi and 0.085 mm at 300 dpi. Small difference on paper. A big one in tiny text.
For large shipping text and ordinary barcodes, 203 dpi is often adequate. Dense codes, fine graphics, or small characters benefit from 300 dpi’s tighter dot spacing. But more resolution is not automatically better; label coating, print speed, darkness, and a worn printhead can still blur edges. The easy mistake is choosing by dpi alone. ISO/IEC 15416:2016 grades linear barcode print quality on a 0-to-4 scale, while GS1 General Specifications set barcode dimensions by application. These standards make an important point: resolution is only one part of scan reliability. Check a sample label at actual size, especially where narrow bars or tiny text must stay crisp.

A 4x6 thermal label has to match the surface it will stick to, not just the printer. Corrugated cartons are porous and slightly rough, so a general-purpose permanent adhesive often works well. Smooth plastic totes can be trickier; dust, mold-release residue, or cold surfaces may weaken the bond. Press a sample label firmly, then check its edges after several hours.
Facestock matters just as much. Standard thermal paper suits short-lived shipping labels kept indoors, but heat, sunlight, and rubbing can darken or wear the image. For chilled storage or damp handling, consider a moisture-resistant synthetic facestock with an adhesive rated for low temperatures. Check the full temperature range, including application temperature. A label that bonds in a warm room may lift when applied to a cold carton. Test it first.
Run a small trial on the actual packaging. Apply labels to clean and dusty areas, then expose them to condensation, stacking, and normal handling. Note whether corners curl or barcodes smudge. Small detail, big consequence. Adhesive strength is not always better: a very aggressive adhesive can tear paper cartons or leave residue on reusable bins. Record the surface, temperature, and time before judging the result; one quick peel test may miss a slow failure.


A 4x6-inch label may fit the print area, yet the roll can still fail to load. Check the printer’s specified core size before ordering. A 1-inch core and a 3-inch core need different holders or adapters. Measure the cardboard tube, not the label width. Small detail. Big effect.
Next, compare the roll’s outer diameter with the printer’s compartment limit. A full roll may rub against the cover or resist turning if it is too large. Check the maximum diameter in the printer manual, then consider how many labels you need per roll. More labels can mean fewer changes, but a larger roll is not always compatible. Specifications can be easy to misread, so verify the units and dimensions.
Sensor type matters too. Printers may detect gaps between die-cut labels, black marks on the liner, or continuous stock. Match the label’s backing and markings to the sensor setting. If the printer uses gap sensing, the spaces between labels must be clear and consistent. Run a short test and inspect alignment across several labels. One label can look right by chance. A small test run may reveal drifting, skipped labels, or incorrect detection before you print a full batch.
We offer Packaging Boxes delivered to your door. Secure, professional, and affordable, our custom made packaging boxes are guaranteed to protect and transport your valuable items. Our devoted team is always there to serve you.